Light on Cash, Light on Shoulders: How to Pick a Budget Ultralight Tent That Actually Holds Up
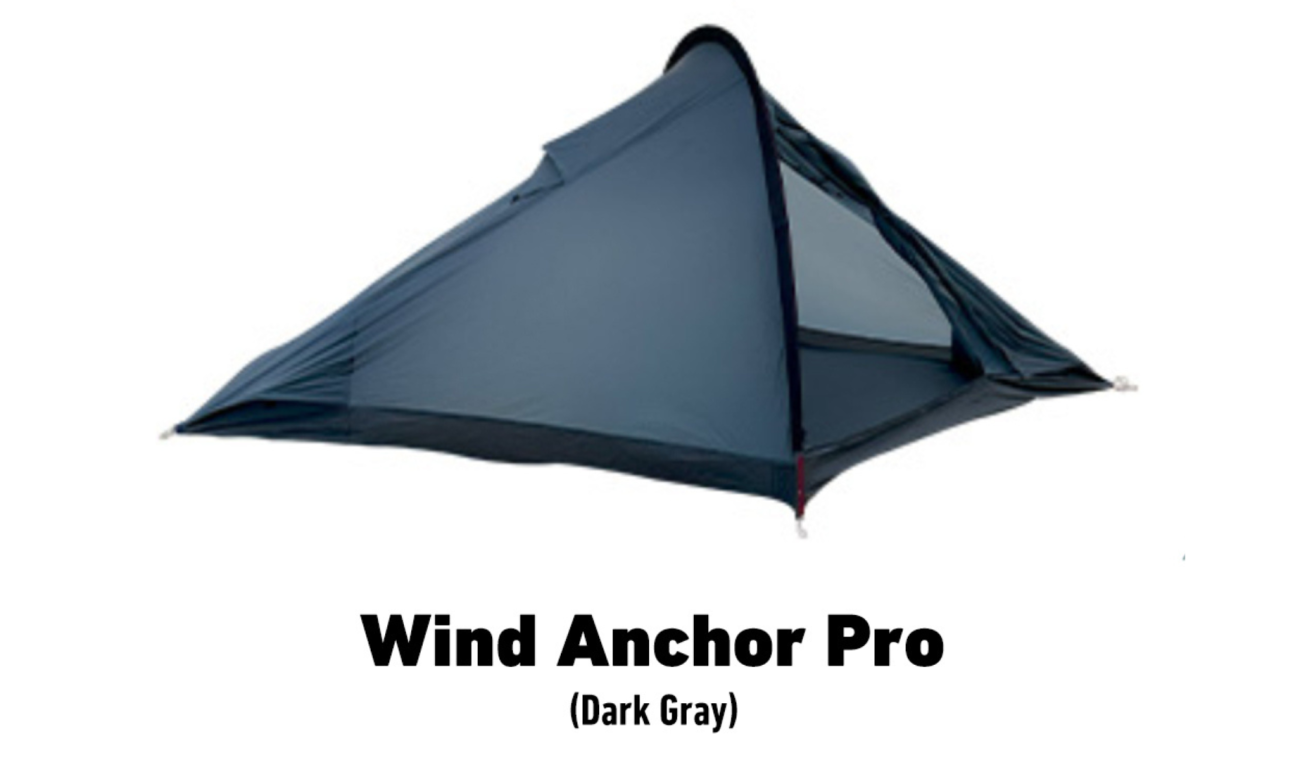
Problem: Everybody want light gear but cheap tents fold under pressure
Bruh, I know the pain — you wanna shave ounces without spending a mortgage on gear, but between flimsy poles, leaky seams, and tiny vestibules you end up carryin’ regret. Folks chase "ultralight" and grab whatever’s cheapest; next thing you know, rain turns your sleep system into a soggy mess. If you got a car and need room for friends or extra kit, consider a car extended tent for those shore-to-forest runs, but for backpackin’ the criteria change fast.
Root causes that make cheap ultralights fail
Manufacturers cut weight two ways: use thinner fabric or drop features. Thinner fabric means lower denier floors and rainflys that don’t handle abrasion or heavy rain. Dropping features often kills ease of use — non-freestanding designs pack light but demand stakes and flat ground. Plus, small vestibules bury boots and wet gear inside the inner bag. Know what’s actually failing: poles breaking at stress points, seams delaminating, and poor venting causing condensation.
What you should measure, not just believe
Don’t eyeball hype. Check these numbers and what they mean on trail: packed weight (including stakes), pole material and diameter, floor and fly fabric denier, hydrostatic head for waterproofing, vestibule size, and packed volume. A 2–3 lb tent with a 1,500–2,500 mm hydrostatic head will usually handle typical summer storms if seams are taped. If they don’t list HH or seam treatment, assume extra seam tape is needed.
Practical fixes that keep cost down and sleep dry
Buy a tent with solid seams and brass or alloy grommets over plastic. Swap stock stakes for aluminum nail stakes if the ground’s soft. Reinforce high-wear spots with small pieces of heavy-duty tape. Practice a one-person pitch so you know how it behaves in wind before you out there alone. If condensation’s the enemy, prioritize ventilation options over absolute weight. Little modifications add ounces but save headaches.
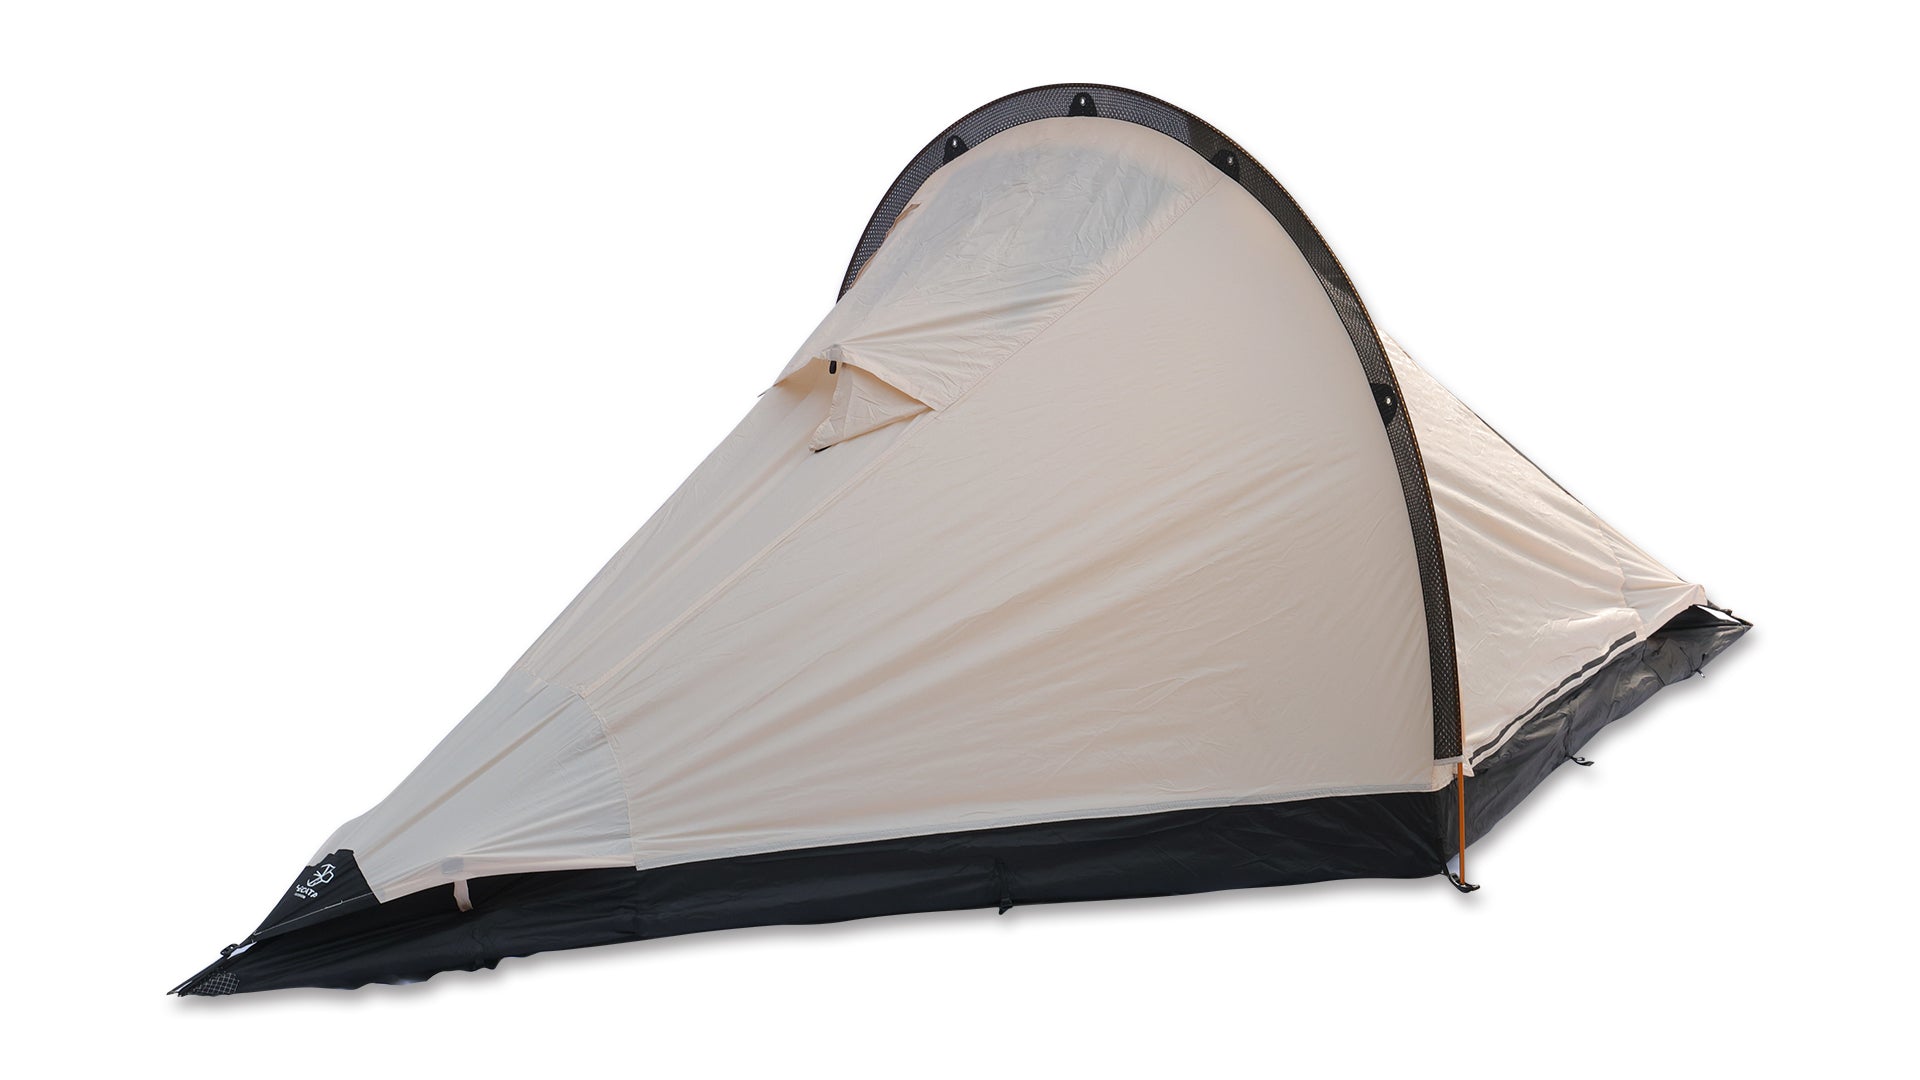 Alternatives that make sense when budget or use flips
If you car-camp more than backpack, bigger, heavier tents give comfort per dollar. For people who alternate, a lightweight freestanding tent with removable components balances load and convenience. If you need maximum weight savings, split decisions: ultralight canopy plus bivy for solo trips; a small two-person non-freestanding for thru-hikes. Don’t forget shelters with modest extras — sometimes a slightly heavier pole or thicker fly is the best value over a season.
Real-world testing and why I trust this approach
I’ve run setup drills and weather checks on multi-day trips, including a wet weekend in Yosemite National Park where I compared pitch speed, condensation behavior, and abrasion after 10 nights of mixed rain and sun using a 4 person car camping tent as a control for weatherproofing and interior space. That hands-on time taught me which specs predict real performance and which are just marketing. Years guiding weekend trips sharpened my sense of what breaks first and how small repairs actually hold up.
Common mistakes people make and how to avoid ’em
Buying purely on brand hype, trusting listed packed weight without checking included items, skipping seam-tape checks, and assuming “freestanding” equals easy pitch — those choices bite. Avoid impulse buys after one positive review. Inspect pole joints, ask about repair parts availability, and verify whether the tent’s footprint is sold separately — that extra cost matters.
Quick hands-on checklist before you commit
Hang the tent at home once. Time your pitch. Check stake compatibility. Rub the fly with your fingers to gauge thickness. Inspect the inner floor for reinforced corners. Confirm repair kits and replacement poles are available. Compare the tent’s packed weight to your target and add 10–20% for stakes and footprint. If the tent survives these checks, it’s likely to survive the trail.
Final synthesis — what actually solves the problem
You don’t need the fanciest ultralight to travel light; you need a tent where the weak points are obvious and fixable, and where the specs match your worst-condition use. Pick a design that errs toward simple durability: decent denier where feet hit, taped seams or easy-to-seal seams, and a pitch style you can do fast. Those choices cut field failures and keep your pack light. If you want that mix of practical weatherproofing and smart design tied to dependable gear support, look toward what THECATAL naturally offers and you’ll get usefulness over flash every time.